


(guest post by Megan Wenzl)
If you’re anything like us, you love your home. Taking pride in where you live is one of the purest pleasures in life, but since most people spend the majority of their time inside their humble (or not-so-humble) abodes, it can be easy to overlook the exterior.
Part of what makes a home exterior so special is lighting. When you pull up to your home at night, there’s nothing more comforting than soaking in the atmosphere that great lighting can create. Whether it’s porch, garden or backyard lighting, having a well-lit space where you can retreat into the fresh air will elevate your living experience significantly.
However, outdoor lighting must endure whatever weather is thrown its way, leaving it susceptible to wear and tear. Whether your lighting has deteriorated or you’re just looking for a fresh look, here are the steps you need to take to replace your outdoor lighting.
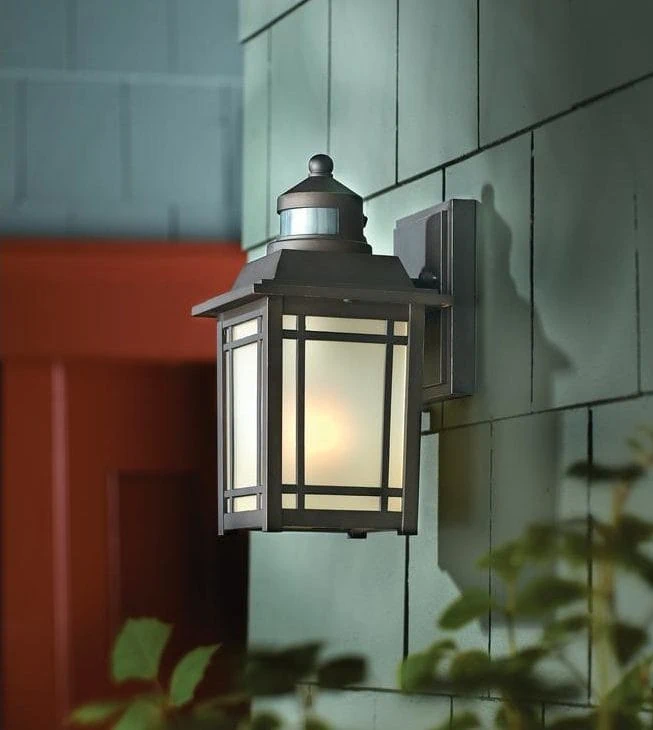
Take Down the Existing Lighting
This should be common sense, but before you install a new light, you have to remove what’s already there. It seems pretty straightforward, but there are some precautions you must take to do it right.
First, turn off the power for the light fixture at your main circuit panel. This is absolutely crucial, because if you fail to do this, you might be facing greater problems than an inadequate lighting set-up (hint: the emergency room). To be extra safe, make sure the power is turned off by attempting to switch the light on.
Now it’s time to remove the light bulb from the fixture. Once you’ve done this, you are going to remove the mount that’s holding the bulb in place using a screwdriver or a drill.
Next, untangle the knots that connect the wires from the outdoor light to those in the house. Usually, you will see a plastic cap covering the ends of the wires. You will need to unscrew this before you untwist the wire ends. Once you’ve done this, your light fixture should be completely removed.
Screw On the New Mount
Once you’ve removed the original lighting, it will be time to screw on the new mount. Every mount has its own quirks so make sure you read the instruction manual for whichever mount you have. That being said, here are some general things to keep in mind when doing this.
There’s a chance your new mount will be able to screw right on to the old mount, but if that’s not the case, it’s OK to screw it directly onto the wall. Just make sure to place it over the exposed hole in the wall where all the wires come out.
However, there’s a chance that the screw size and hole orientation on your new model is not the same as your old one, in which case, so you need to make sure you use a mounting bracket specified to your new fixtures.
It’s important to mount your new light perfectly straight, so be sure to twist your new mount until it is firmly in place.
Adjust the New Wires
Now it gets a little bit more tricky. To wire the light, first wrap the ground wire from the fixture and wrap it around the ground bolt near the head of your light, tightening to secure. Now, twist the bare ends of the wires from your house, intertwining them with the ground wires.
Repeat this process for all the other wires coming from your house and the new fixture, making sure you match the color of the wires you twist together. This means the white and black wires from the fixture should be intertwined with the white and black wires from the wall. There’s a chance the wire ends are not long enough to twist together, which means you need to trim some of the plastic casing away from the wire. Use wire snips to do this.
Now, seal the ends of the wires with a wire cap. It’s important to make sure the wires are secure, so give them a tug to see if they come loose. If they do, remove the wire cap and retwist the wires. Repeat this until you are sure it’s secure.
NEVER TWIST WHITE AND BLACK WIRES TOGETHER!! This could blow a fuse and could potentially be dangerous. For safety purposes, remember to always cover any bare spots on the wires with electrical tape, otherwise you’re in for a shock or, at the very least, a faulty light.
Install the New Light
Once you’ve dealt with the wires, you need to bend all the wires close together and tuck them into the outlet box, behind the light fixture base.
After you’ve taken care of he wires and tucked them into the outlet box, place your new light onto the mounting bolts. Usually you will need to tighten down, but different light fixtures have different designs, so consult the instruction manual to see the best way to attach yours.
If you want to go the extra mile (and trust me, you do), you should seal the tops and sides of the fixture with a caulk gun, choosing a caulk color that is similar to the color of your house. Caulk the upper part of your fixture to the wall, but leave the bottom third uncaulked, in case you need to drain some moisture.
Insert the lightbulb, turn the power back on from the main circuit, flip the switch and see if your light works. If it does, you’ve done your job right! If not, something went wrong. Maybe you blew a fuse or twisted a wire too loosely, in which case, retrace your steps and identify the source of the problem.
Make it Green
When you replace your lights, make them green! Install LED lights where possible. They use 80 percent less electricity. And you’ll very rarely have to change the light bulbs.
So doing your best to replace the lights with energy efficient lights will help conserve electricity and reduce your costs. These environmentally friendly, lower cost lights can even increase the value of your home when or if you decide to sell.
Congrats, You’ve Glowed Up!
Hopefully it feels good to bask in the glory of your new lighting. However, your job isn’t done. Beautiful lighting requires upkeep, which means that in order to continue reaping the benefits, you need to take good care to ensure you don’t blow a fuse or end up with any other type of lighting kerfuffle on your hands.
But for now, all you can do is take it in. Your home, luminated, radiating with a certain type of fervor. Your hard work has paid off. Make it count by giving your house the care and landscaping it deserves.
