

Extreme How-To has friends “across the pond” at Walls and Floors UK who have written an article on “Tiling Tips” especially for our blog. Check it out:
You may have recently decided that you want to tile your bathroom. Many people choose to do this to their bathrooms as an effective way to update the space and simply to just make improvements to their bathroom. Tiling is a great way to do this, but it’s not always easy to know how to do it. This simple guide will give you the basic information you need to know to tile your own bathroom. So put a weekend aside, get your best overalls on and prepare yourself for work.
Choose your materials carefully
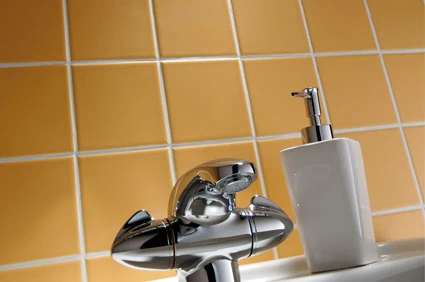
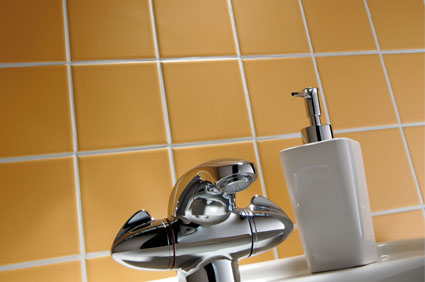
While it can be tempting to just pick up the first tiles you like the look of, take the time to consider the room they will be going in. While some tiles may look pretty, they are not necessarily a practical choice for the bathroom. The very nature of this room will see your tiles coming into contact with water frequently. Because of this, your chosen tiles will need to be water-resistant, strong and non-slippery. You could end up with a huge mess and some accidents if you don’t make an informed choice.
Basic preparations
There are some builders who recommend soaking tiles in water beforehand. This can help to remove the air in the tiles and stop them from absorbing too much moisture from the ground. If the tiles do this, they may not set properly and can come loose in the long run. Some tiles are very absorbent and can soak up the water in the mortar. Once everything has dried out, there will not be enough adhesive to keep the tiles in place, causing more problems in the future. This can ultimately lead to the tiles having to be re-laid if they come loose.
The amount of time that the tiles should be soaked depends on the material they are made of. As a rough guide, porcelain needs 30 minutes to soak, whereas ceramic only needs around 15 minutes. Choose the size of the tiles to fit the size of the bathroom. The rule of thumb is that the more tiles you have, the bigger the space will look. With this in mind, have lots of smaller tiles in a smaller, narrower bathroom and stick to large tiles for wider bathrooms.
Get sticking
Go through the batch to ensure they are the same colour. While this shouldn’t be too much of an issue, there can be a colour variation in some batches so it’s worth checking. Wherever possible, try not to blend different packages together as you may find inconsistency in the colour. If you do have to use different packets, try to do an entire wall in one packet, rather than mixing and matching. If the colour is slightly darker in another packet, try to keep this to the edges and corners so it is not so apparent that the colours vary slightly.
Make sure you use spacers to ensure you get the right placing for each individual tile. The last thing you want is to have the tiles placed on the walls or floor crookedly. Use a waterproof adhesive around wet areas like showers and baths. A flexible adhesive will be more effective for areas that may feel movement, such as around a bath. Spread the adhesive over a manageable area, around one square metre and use a small, ridged trowel to created ridges in the adhesive, helping the tiles to bond. When you start to fix them, the ridges will allow you to move the tiles to get them all on the same level.
When you are fitting tiles to a floor, make sure you use a spirit level to ensure all the tiles are level with each other. If one is too high, put a piece of wood over it and tap it with a rubber hammer. Lift it and reapply adhesive if the tile is too low. The application of the adhesive is much the same as with wall tiling.
Once the tiles have been laid, you need to make sure you grout them to fill in the gaps between them. This will remove any sharp edges and make sure the whole surface is smooth. This stage is as important as actually sticking the tiles down as it removes any little gaps between them.
Make sure you leave at least 24 hours of having absolutely no contact with the tiles. This will give them enough time to dry out properly without causing any damage. If they are touched before this time, they may crack or move, making the final finish look messy and uneven.
Decide in advance if you want to use ‘flower tiles’. These special decorative tiles are essentially the same as the other tiles but they have a different design on them. Mark where you want them on the design, so you can ensure they are correctly positioned prior to adhering the tiles.
Note: This guide was written by the experts at Walls and Floors, one of the UK’s largest suppliers of tiles and with a knowledgeable staff that loves to help you fit them. Find them at www.wallsandfloors.co.uk
— M. Weber
