Stair Stringer Installation

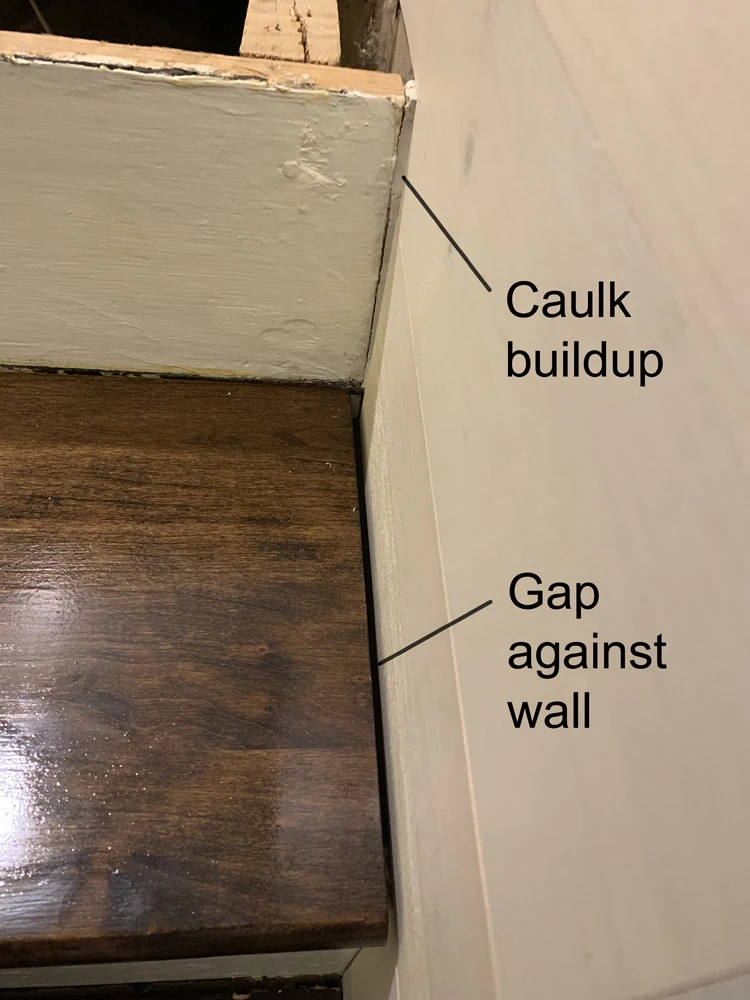
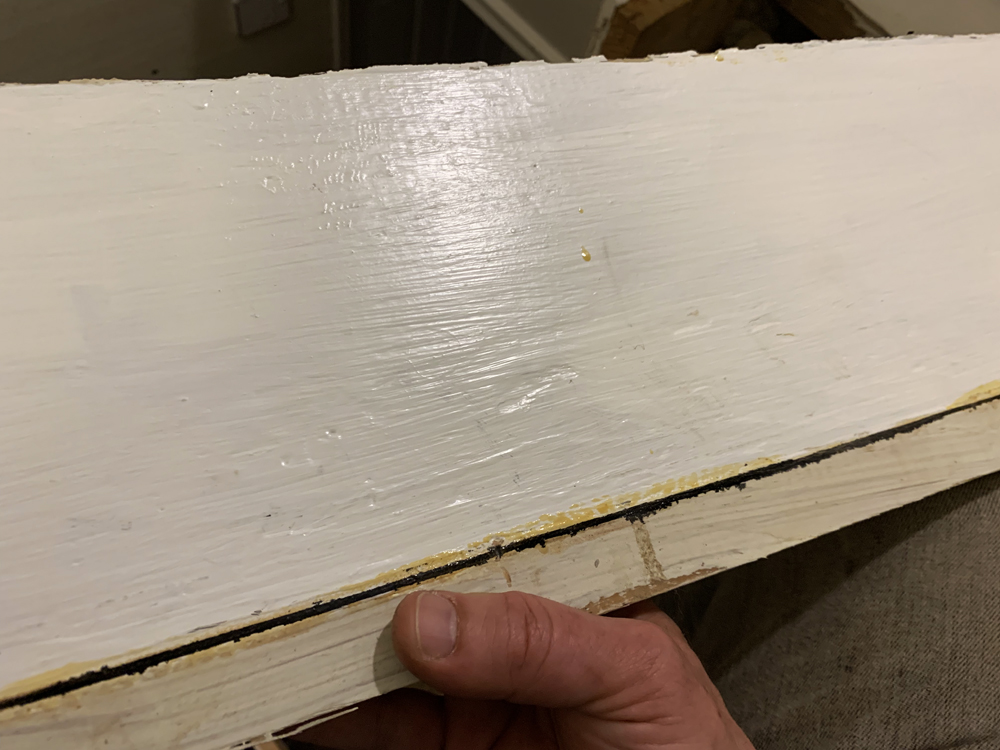
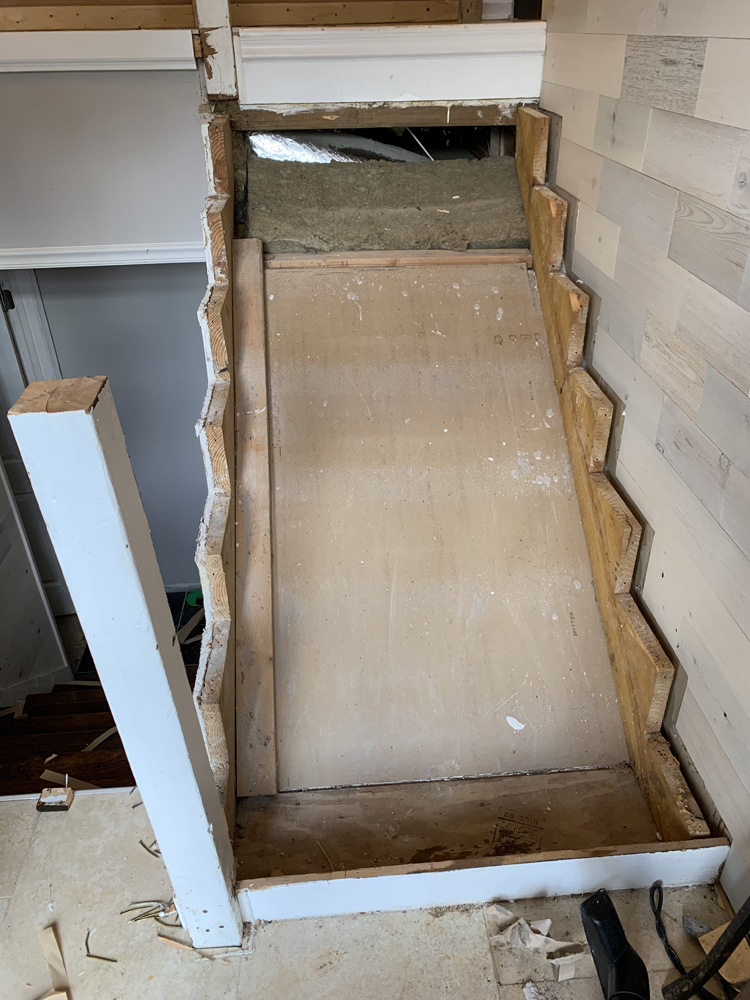
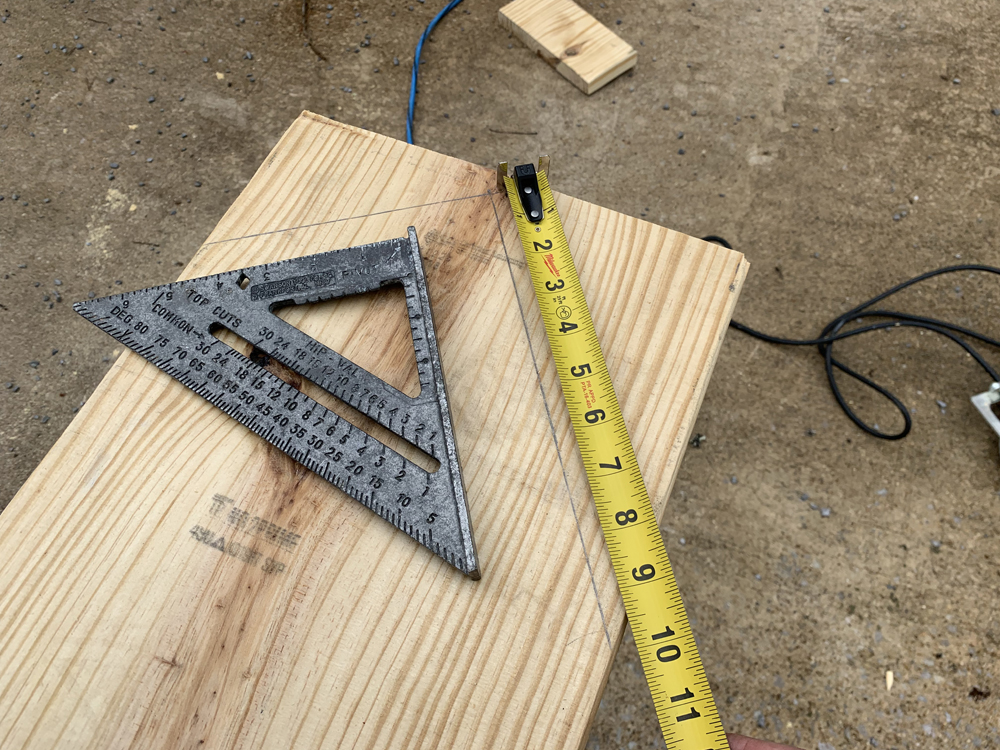
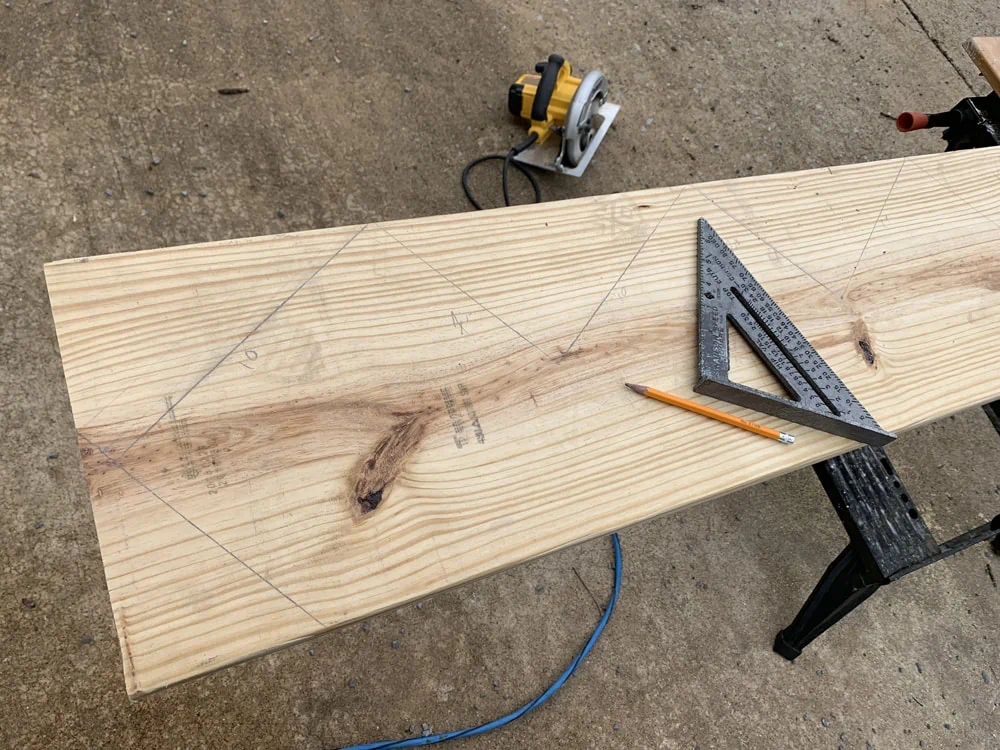
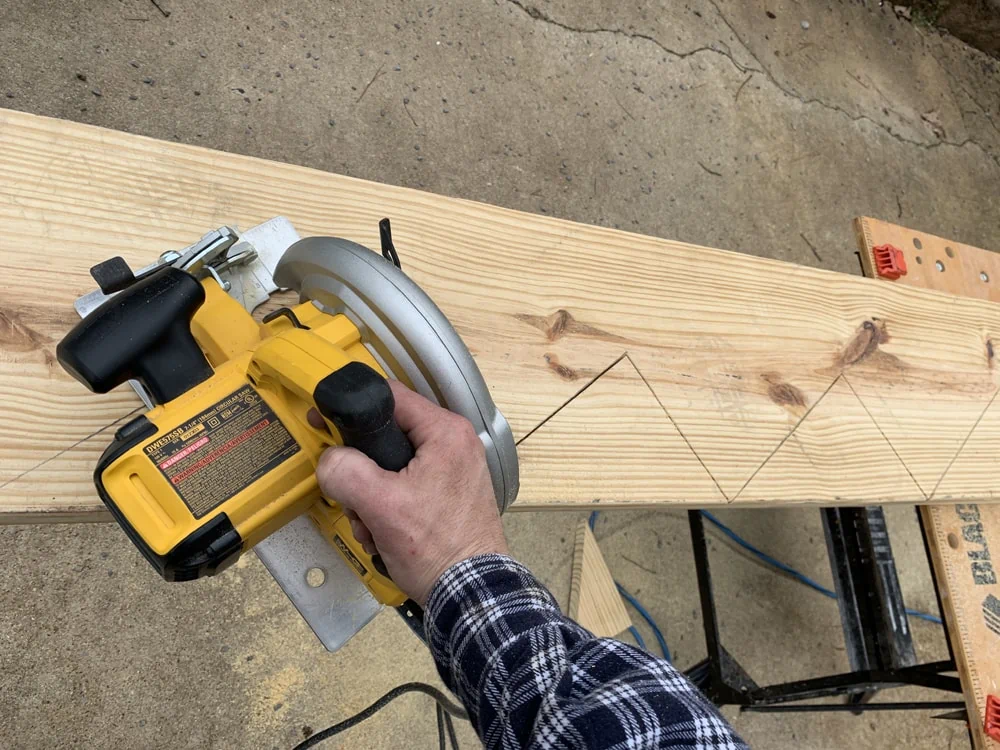
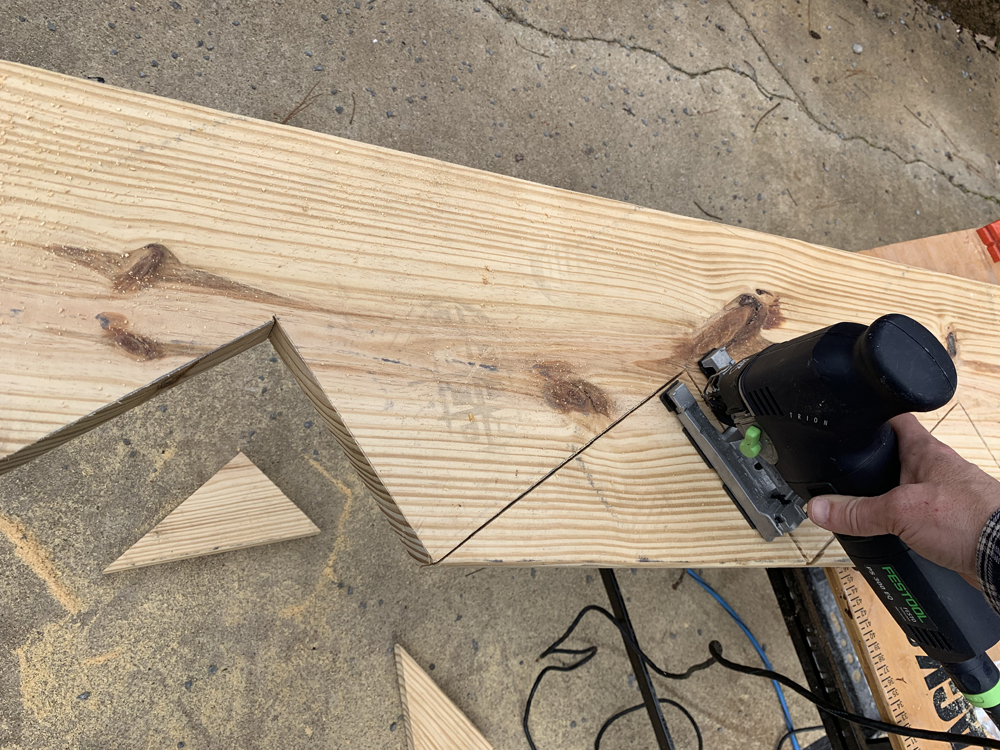
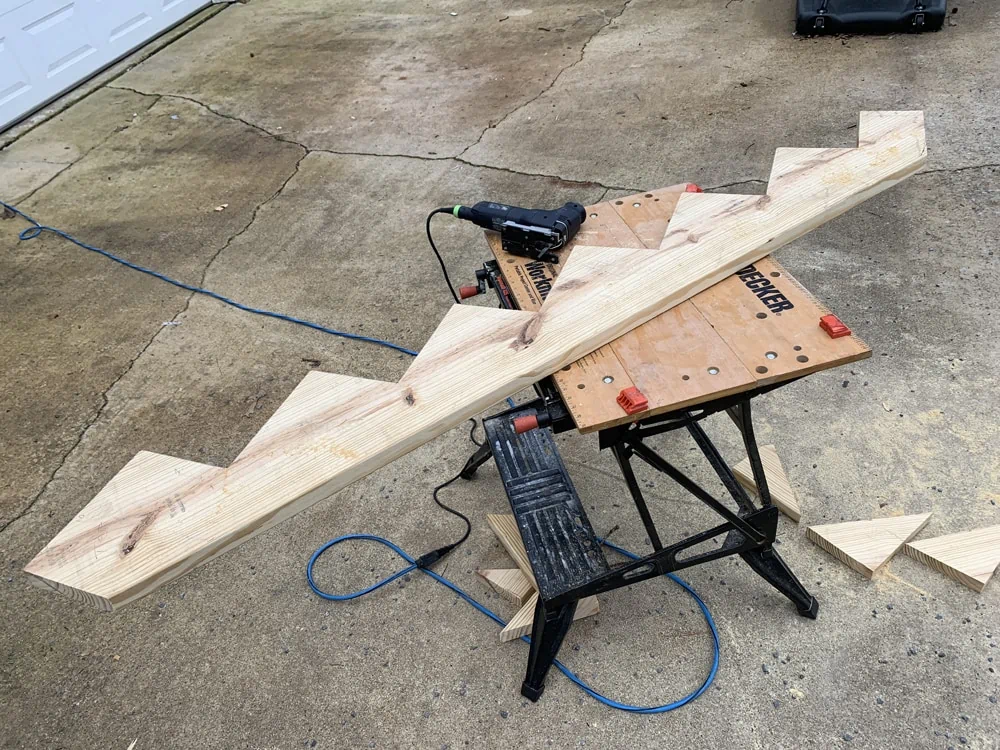
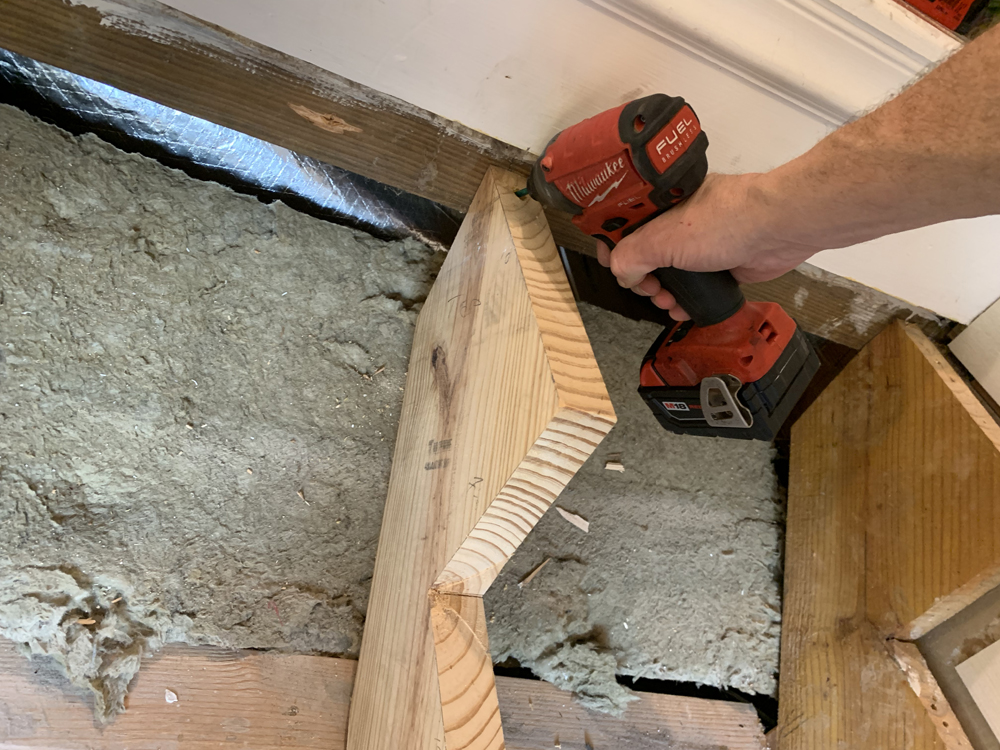
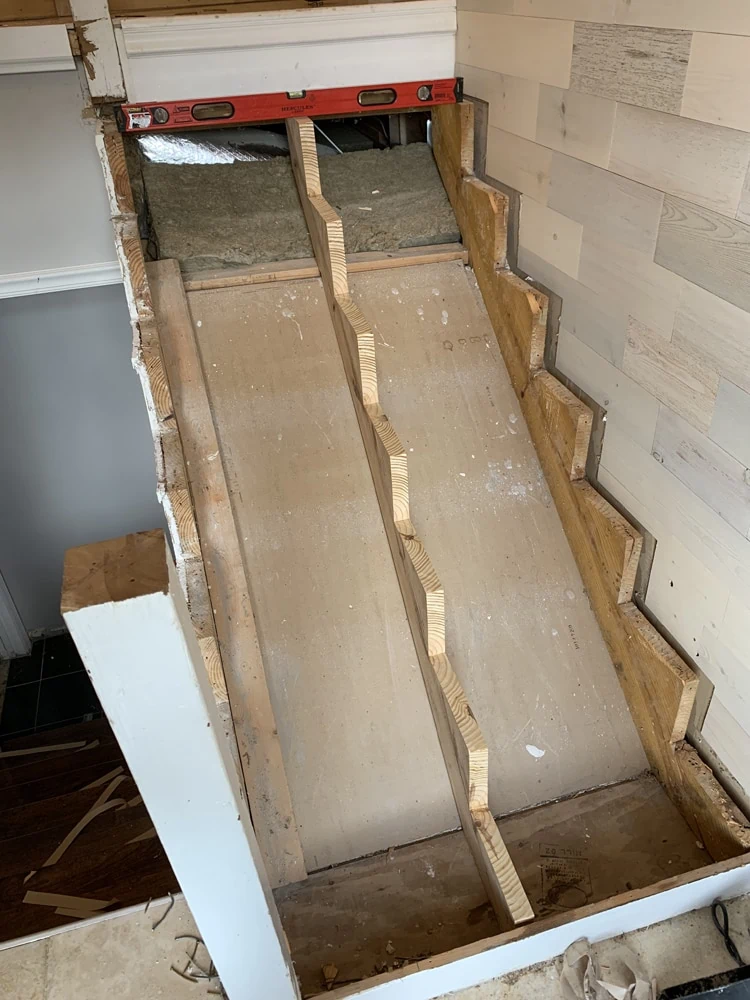
Back to my ongoing stair remodel…

A funny thing happened on the way to installing the remaining treads: Everything went haywire. I’ll try to sum it up as succinctly as possible:

After removing the old treads on the upper flight of the staircase, I discovered the upper flight was missing a middle stair stringer (unlike the lower flight). This bothered me. Then, when dry-fitting the new treads from L.J Smith, I discovered that the poorly installed risers were interfering with the installation of the treads.


The wraparound nosing on the open end of the treads meant I had to fit the opposite end snugly against the wall. However, the riser above had been installed out of alignment to the stair framing, leaving a gap that was caulked to conceal the problem. Since the tread nosing wrapped the upper riser (and was trapped on the open side), the riser gap created a gap along the joint between the tread and the wall.


The risers were also ugly. They’d taken a beating from foot traffic over the years. Since I didn’t want anything detracting from the nice, new stair treads, I pried off all the risers for replacement.


After pulling all the risers and looking at this gutted staircase, I started thinking that I’d once again gotten in “over my head.” But, since I had the entire staircase open, I might as well install that missing stringer, right? At this point, there was no turning back…


I went to my local home center and bought a 2×12 for the stringer and some pre-primed 1×8 boards for the risers. My plan was to duplicate the existing stringer pattern, so I used a Milescraft angle finder to match the stair angle.


I transferred the angle to the 2×12 and marked the layout.


I used a Speed Square to mark the notches for the treads and risers.


This photo shows how I double-checked the 10″ tread depth. Riser height was 7-1/8″


Stringer layout completed.


I used a DeWalt circular saw to cut the notches up to the intersection of each angle.


To complete the notches without over-cutting them (which will weaken the stringer), I used the straight blade of a jigsaw.


Stair stringer completed.


After careful alignment, I anchored the new stringer with 4″ countersunk construction screws midway between the two existing stringers.


I’d be lying if I said the new stringer slipped right into position with no problems fitting it. The truth is it was a major pain in the neck. Complicating the situation were the measurements of the other stringers. I soon realized the original two stringers didn’t exactly match each other. Furthermore, the notches of one of the stringers didn’t even match in measurement from one notch to the other. The former carpenter must have been half blind, drunk or stupid. After many attempts at adjustment and re-installation, I think I finally have things in working order, but I’m going to have to buy a lot of shims to make sure the risers and treads fit snugly. I’ll save that for another blog post… – Weber

Hot Product

Armstrong Clark wood stain
Armstrong-Clark Wood Stains

Armstrong-Clark’s deck and siding wood stain has nondrying conditioning oils that separate from the drying side of the formula. These oils penetrate deep into the deck or siding wood fiber where the wood’s natural oils used to be. This process rejuvenates the wood. The drying oils stay at the surface, lock in the conditioning oils […]

Read More >>