Stair Rail Removal

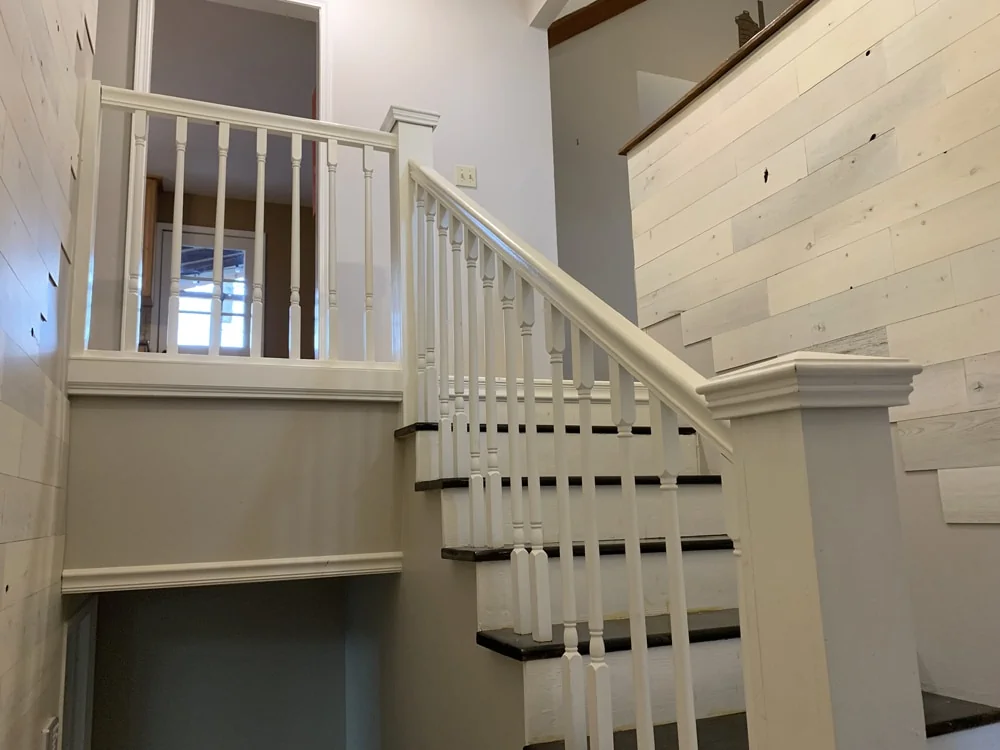
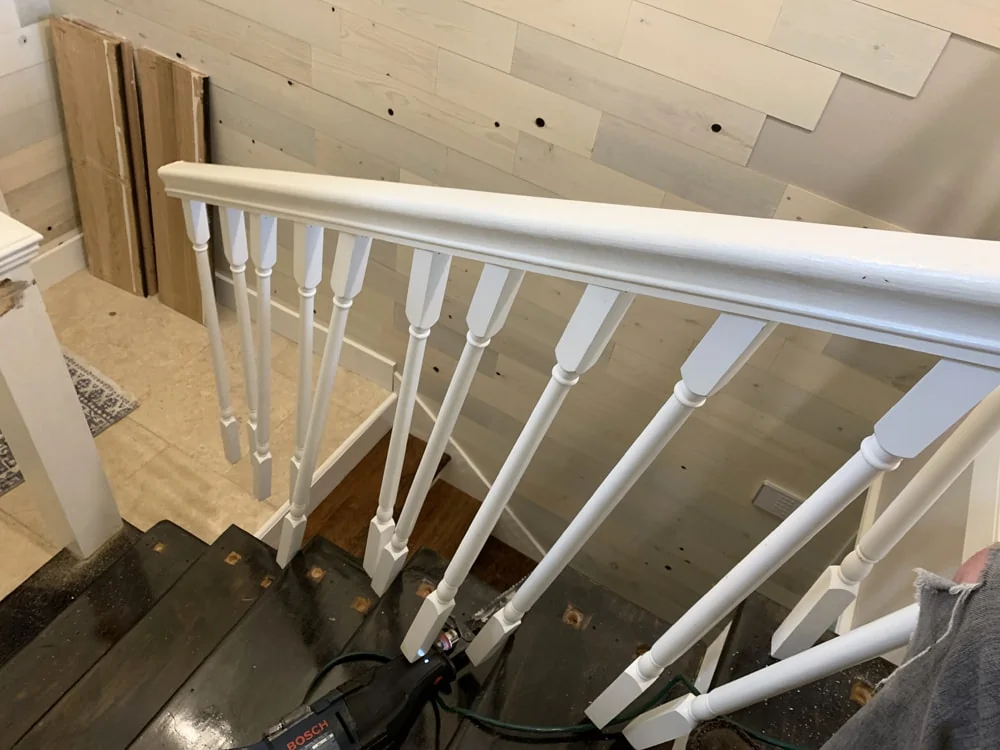
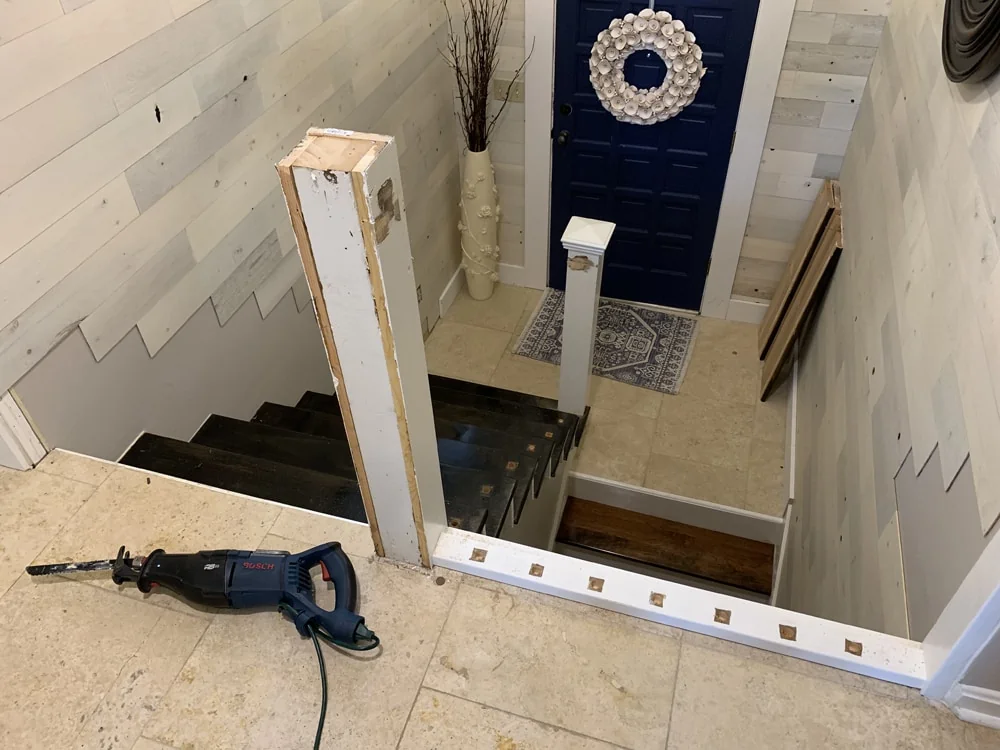
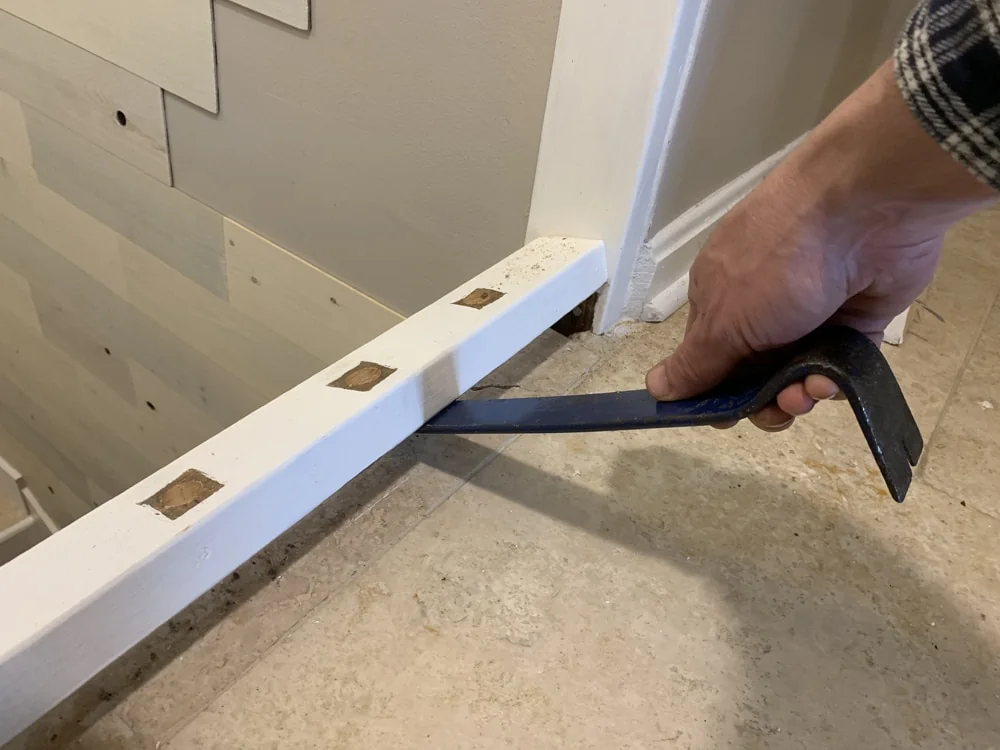
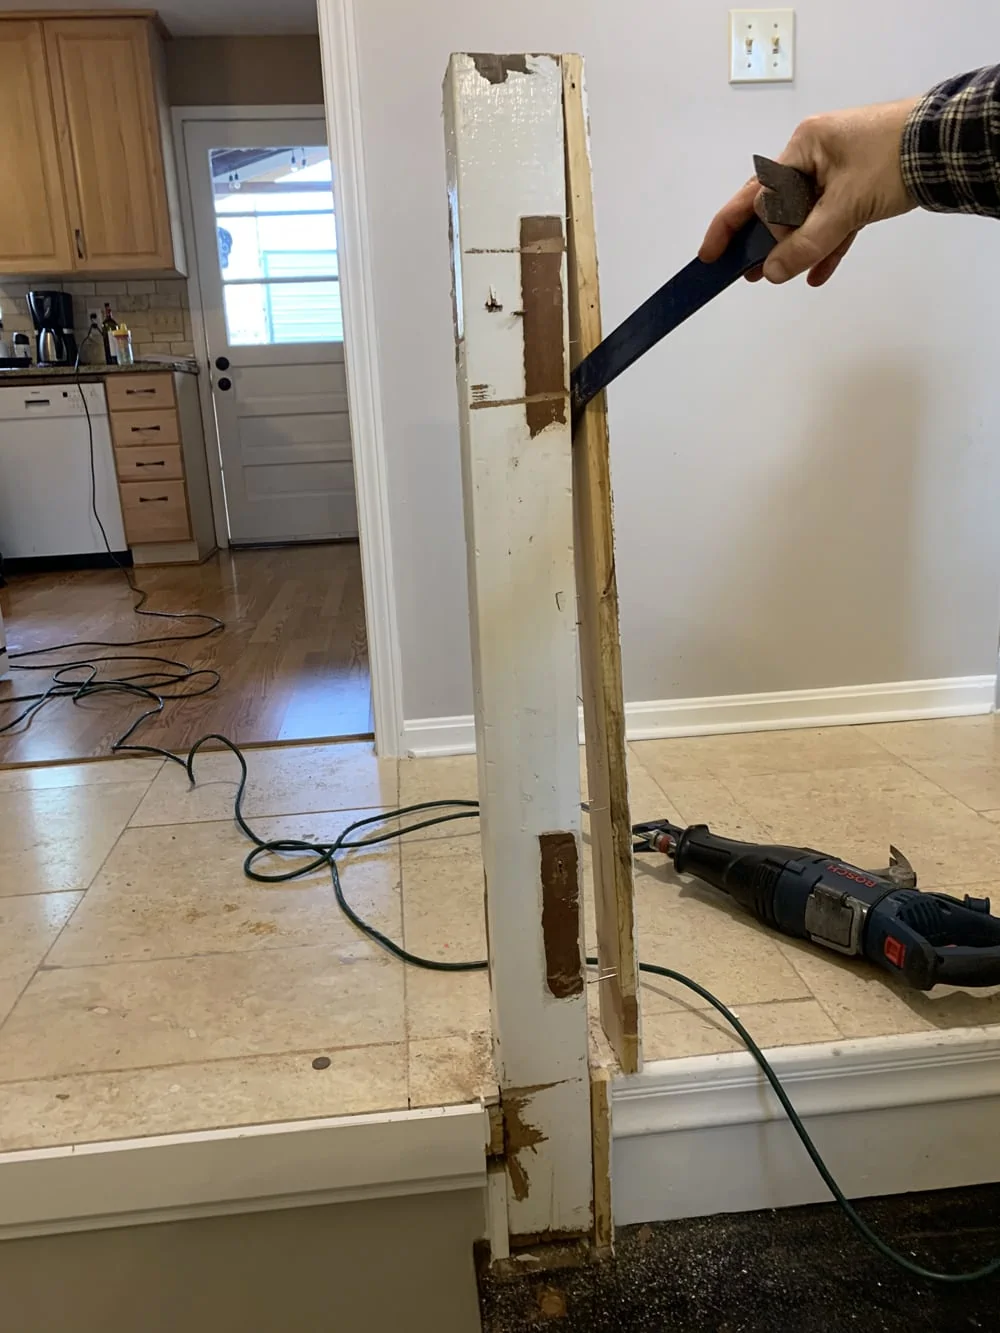
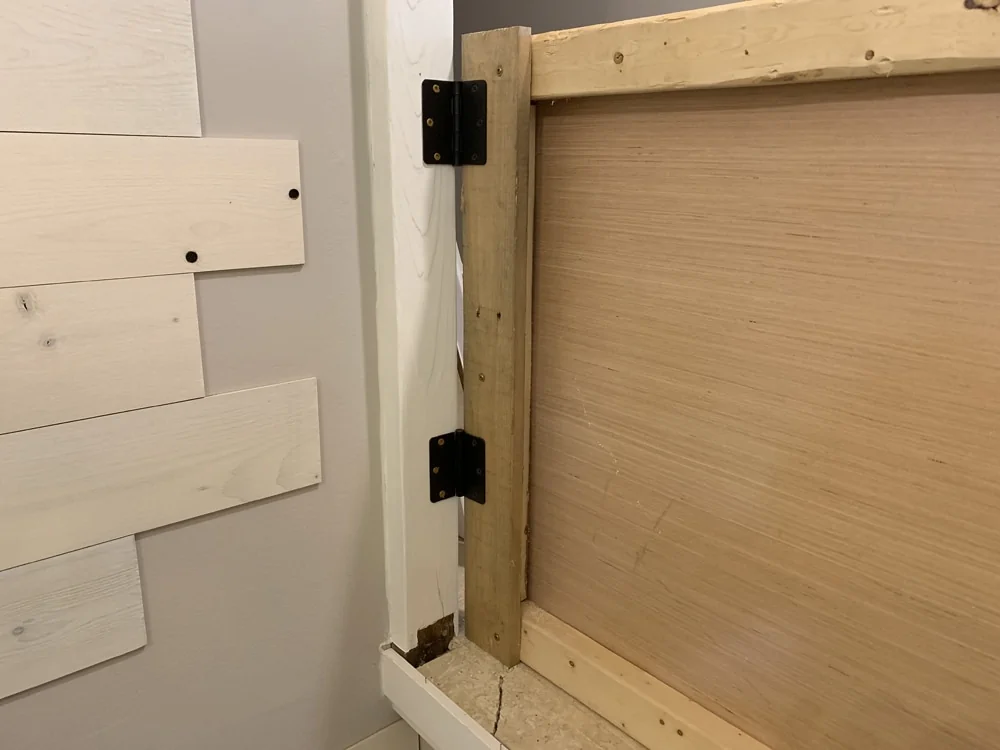
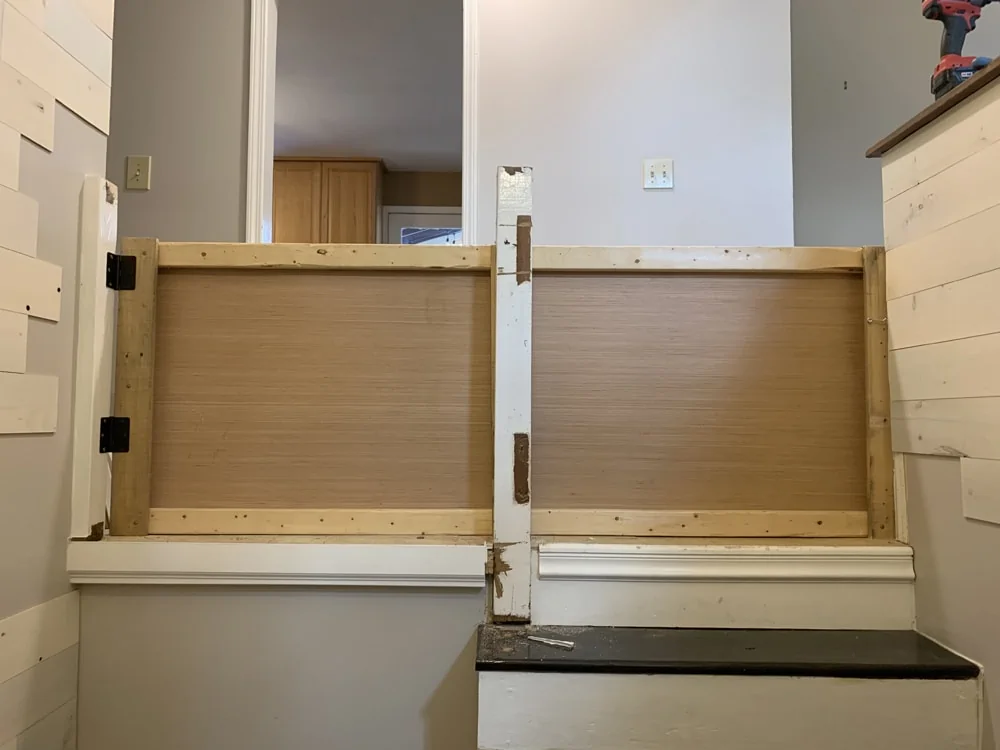
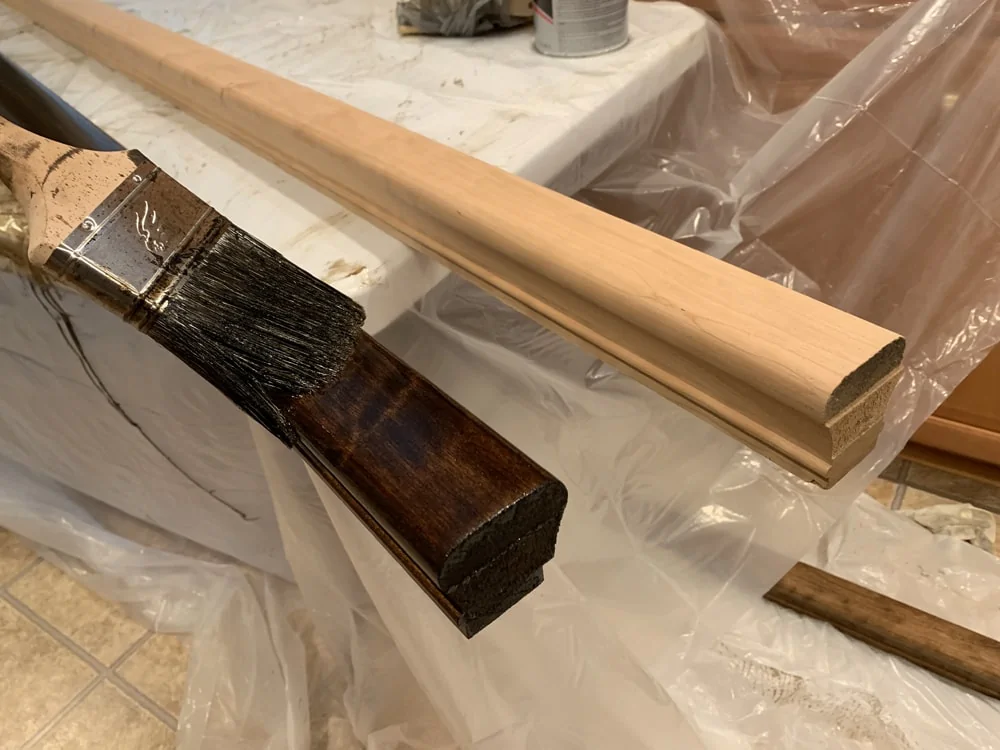
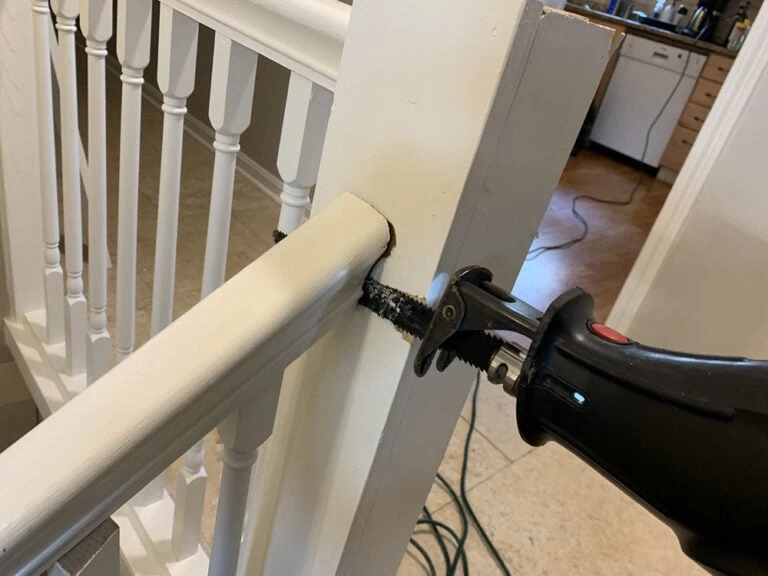
Getting back to my ongoing staircase remodel…
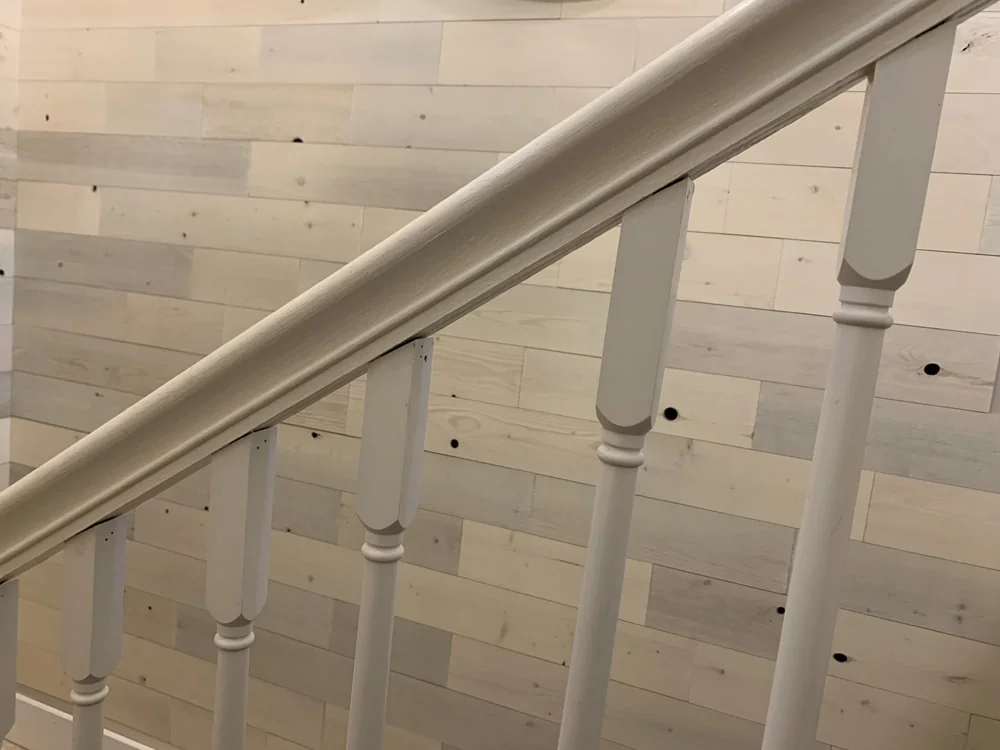
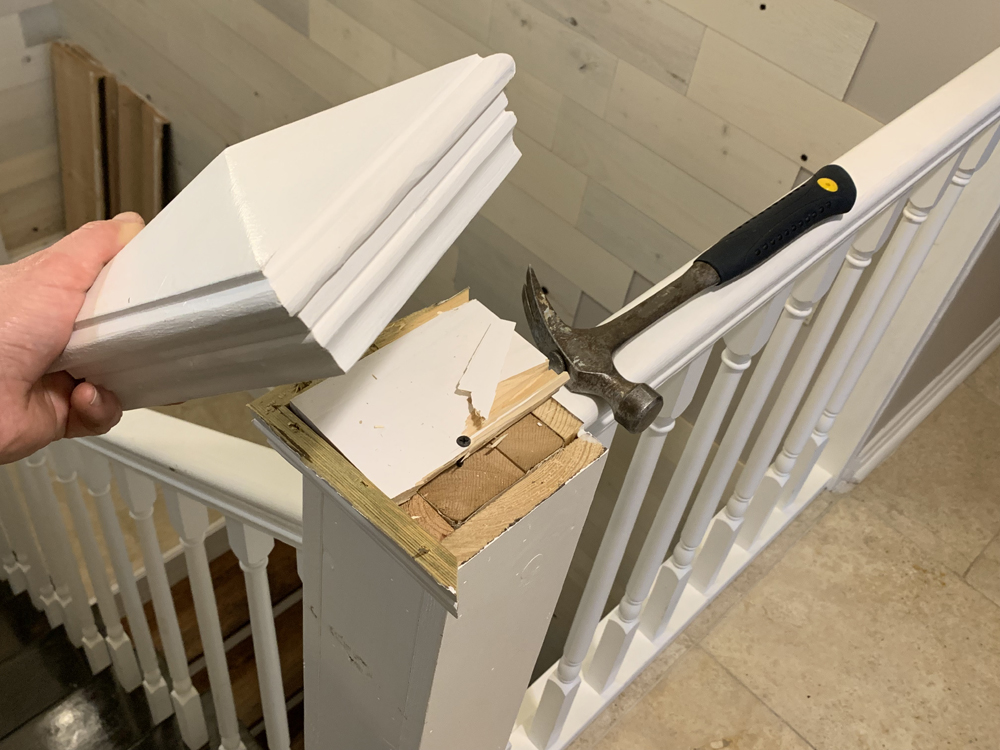
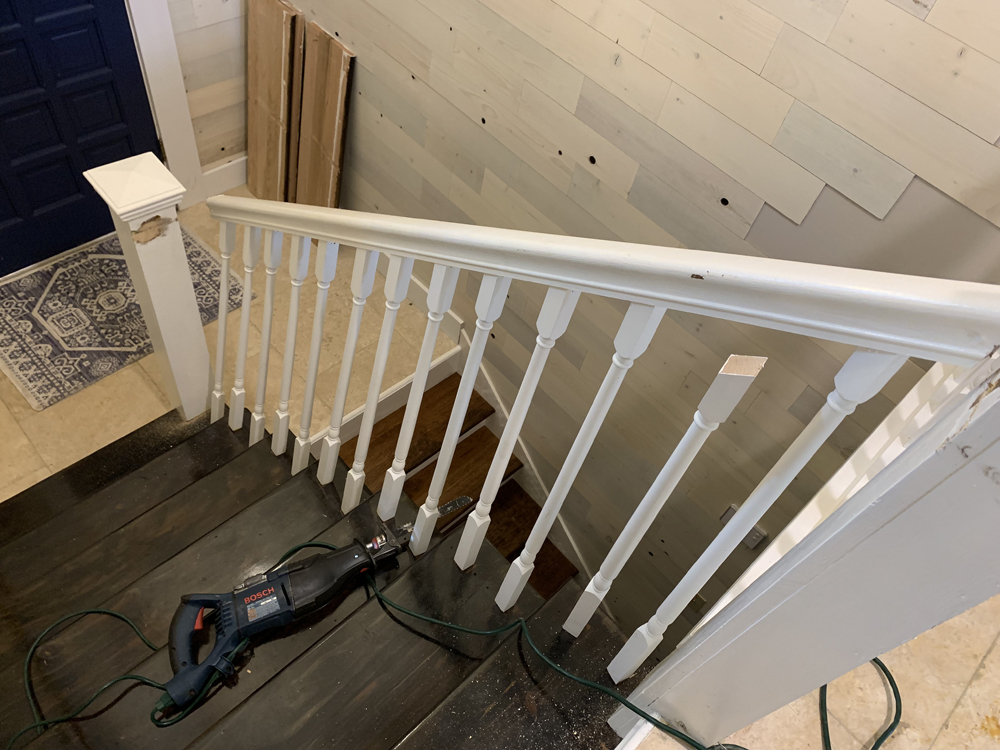
I already replaced the lower flight of the split-level stair treads, but I couldn’t replace the upper flight before first removing the handrail. So, this next phase of the project called for some orderly demolition.

Here’s the old stair rail, which appears nicer in this photo than it looks upon closer inspection.
Whoever installed the old balusters had spaced them at seemingly random intervals, which made for an ugly pattern and rendered some of the gaps between balusters too wide for code compliance (4-1/2″ maximum spacing).
The “carpenters” of the past also left sloppy glue lines, botched notches, poorly concealed fasteners, and a number of other problems I could gripe about. I wanted to replace the stair rail so visitors to the house didn’t think I was responsible for these errors.
“Fixed the newel post! ” — Clark Griswold … To take apart the stair rail, I started by hammering off the cap of the newel post. Beneath the blocking was a 4×4 post wrapped on all sides by 1x trim boards.
Next, I equipped my trusty reciprocating saw with a nail-cutting blade and sliced through the fasteners between the handrail and the newel post.
This was the first time I’ve removed a stair rail, so I wasn’t sure exactly how it was going to behave. It turns out that when I cut the opposite end of the rail free from the lower newel, then entire assembly broke loose and leaned over–but didn’t fall completely because dowels in the bottom of the balusters were trapped inside the holes of the treads.
When I lifted up the stair rail, almost all the balusters stuck to the underside (held by brad nails).
I put the entire assembly aside and then turned my attention to the adjacent top-level landing rail, which I removed in the same fashion.
Here’s what the split-level foyer looks like with no handrail. Be careful not to fall off the landing!
I pried the old shoe rail off with a flat bar.
Next, I pried away all the 1x trim boards from the 4×4 posts.
To keep everyone safe, I made a temporary “gate” for the top of the stair landing. I threw this thing together using a sheet of luaun plus some scrap 1×3 boards and 1×4 leftover from a disassembled shipping pallet. The connections are all made with pan-head screws.
I mounted hinges on one end of the gate and screwed them to the wall.
The other end of the gate gets a hook-and-eye latch, which I located low enough on the stair side that my two youngest kids couldn’t reach it.
Here’s the temporary gate in place atop the stair landing. My next step is to replace the remaining stair treads.
Then, it will be time for me to figure out how to install a new rail system from L.J. Smith Stair Systems.

Hot Product

Armstrong Clark wood stain
Armstrong-Clark Wood Stains

Armstrong-Clark’s deck and siding wood stain has nondrying conditioning oils that separate from the drying side of the formula. These oils penetrate deep into the deck or siding wood fiber where the wood’s natural oils used to be. This process rejuvenates the wood. The drying oils stay at the surface, lock in the conditioning oils […]

Read More >>