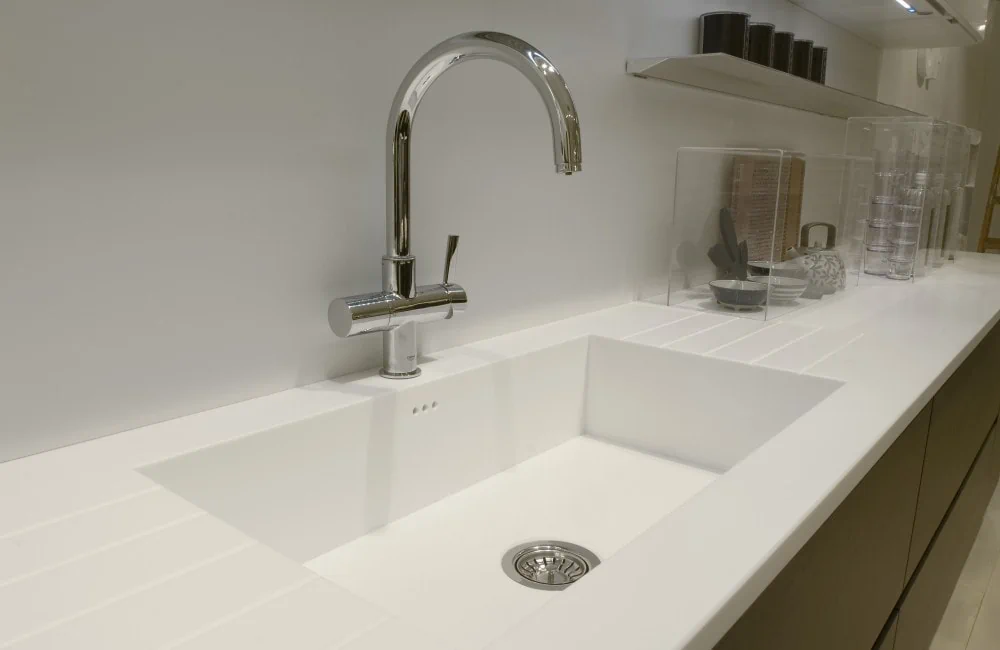
(guest post courtesy SolidSurface.com)
Adding backsplashes to your kitchen, bathroom, or any room in your home can give your living space a boost of color and style. When you choose to craft DIY Corian® backsplashes, you know you’ll be using high-quality materials for your project. This means that you won’t waste time and money discovering that you should have chosen a different product line. When the work is done by a Corian® certified fabricator the Corian® solid surface is backed up by a 10-year warranty .
Now that you know you want to work on a DIY Corian® project, you’ll need to decide which Corian® materials to use. Corian® remnants, or scraps, are perfect for many DIY backsplash ideas. Whether this is your first or fiftieth time working on this type of DIY endeavor, you may appreciate a few hints on how to do backsplashes quickly and easily. The following tips can help you to have some fun and get the most out of the experience.
Work Within a Reasonable Scope
One point to keep in mind is that if you haven’t yet had a lot of experience with similar projects, you may want to start with a modest project. The Corian® product line offers a wealth of DIY possibilities, from enhancing the look of a kitchen to completely transforming the appearance of a bathroom. Starting with a small DIY Corian® backsplash project will give you the confidence you need to subsequently take on larger ones. You might use Corian® scraps left over from a different project, or you may want to purchase enough overstock material to get started.
Explore the Basics
Before you start on your DIY Corian® backsplashes, make sure you’ve explored some of the basics of this type of work. Any solid surface is a heavy material, so you’ll need a stable work area to cut and shape your Corian® scraps. Decide which cuts will be suitable for the look you wish to achieve. You should also familiarize yourself with the best tools and supplies to implement your Corian® solid surface project.
Prepare the Area
You’ll also need to prepare the area you intend to modify. Be sure that the wall or other surface that will be covered in Corian® solid surface is clean and structurally sound. Remove switch plates if applicable, and store them away from your work area to be reinstalled later.
Silicone and Hot Melt Glue
The next step is to cut the pieces of solid surface to the size needed. Apply thumb sized daubs of silicone sealant in a 12” grid pattern. Before pressing the solid surface into the silicone, apply large daubs of hot melt glue in the corners. Press and hold the solid surface in place long enough for the hot melt to solidify. This will allow the silicone to harden.
If you want a seal between the backsplash and the countertop, clean the surfaces to be mated and apply a 1/4” bead of clear or color-matched silicone to the 1/32” gap that you have left between the splash and the countertop. An easy way to remove the excess silicone is to spray the silicone, once applied, with a non-ammonia based window cleaner and wipe the excess away with your finger or a stick. Spray again and repeat the wiping until all excess silicone has been removed.
With your new Corian® in place, you’ll have a beautiful backsplash to add dimension and style to your space!
Any DIY Corian® project can be fun and rewarding. Adding DIY Corian® backsplashes to a space is an easy way to change the look of a small area or an entire room. If you have questions about this versatile material, don’t hesitate to contact SolidSurface.com for help.


