


The previous owners of our home had remodeled the basement into a finished living space, but my wife and I thought it could use some cosmetic improvement. After moving into the house, we painted the room and installed new flooring, and our latest plan was to create an accent wall with artificial stone veneer. Before installing the stone, however, I thought it would be a good idea to inspect construction of the wall to make sure it was built adequately to support the weight of the stone. What I learned confirmed a long-held suspicion of mine: The remodelers had not installed insulation in the walls behind the paneling.
Seeing as I was determined to cover the wall in veneer, the time was “now or never” to install any insulation. That’s how I ended up with a new, unexpected project on my hands. Here’s how it went in a nutshell.
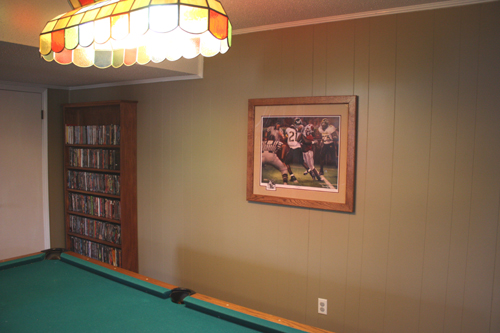
Here’s the basement wall before demolition, finished with paneling and trim.
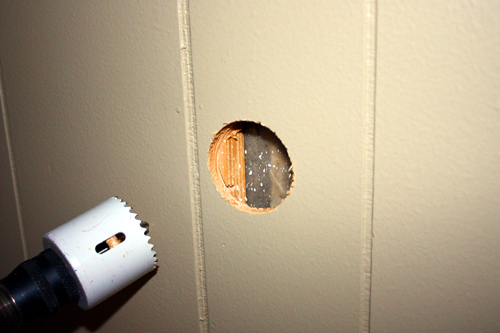
I used a hole-saw to drill an exploratory hole in the wall. Behold the use of furring strips and no insulation.
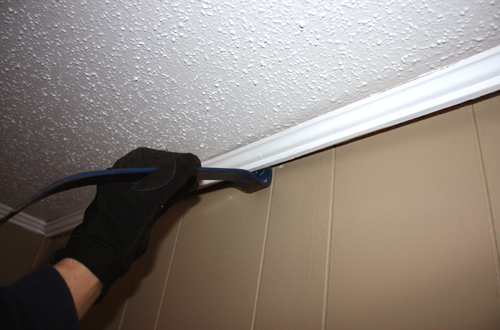
Time to pull off the molding and pry off the veneer panels.
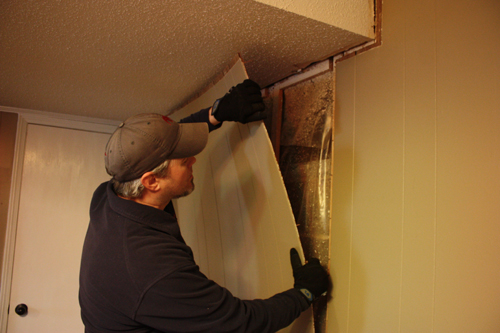
Removing the panels revealed a fully intact plastic moisture barrier and 1×3 furring strips that were nailed into the block wall.
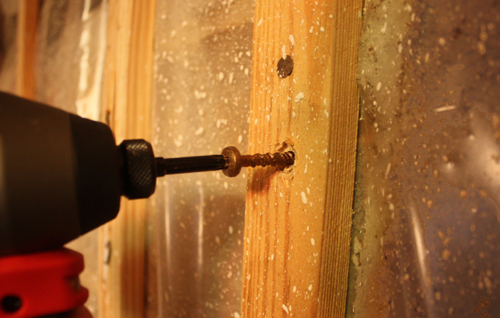
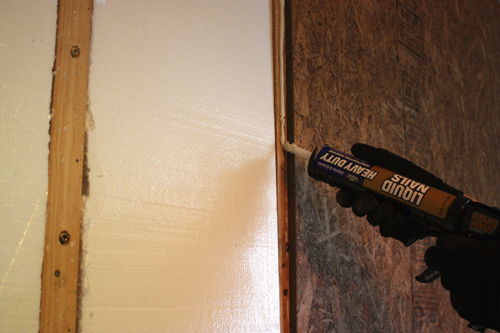
To ensure the furring strips remained securely fastened to the wall once the weight of the stone veneer was applied, I reinforced the strips with countersunk concrete screws driven into the block.
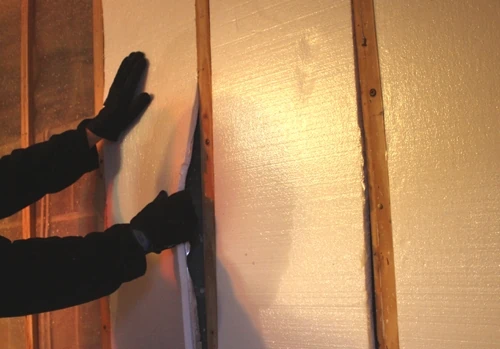
The rigid foam insulation can be cut to fit flush between the furring strips.
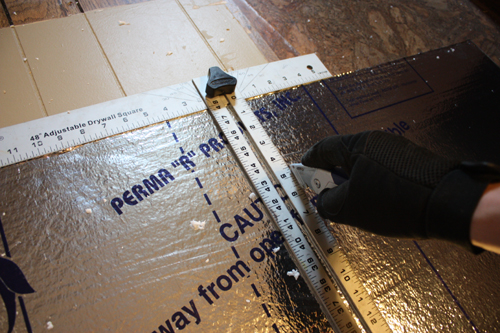
The 3/4″ thick foil-faced polystyrene insulation achieves an R-value of 3.17 the way I installed it. It can achieve an R-value of 5.97 if installed with an air space. The 4×8 sheets can be cut with a utility knife and a T-square.
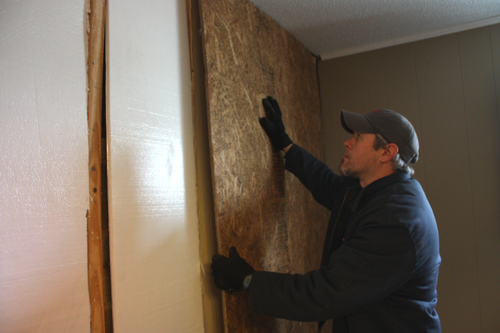
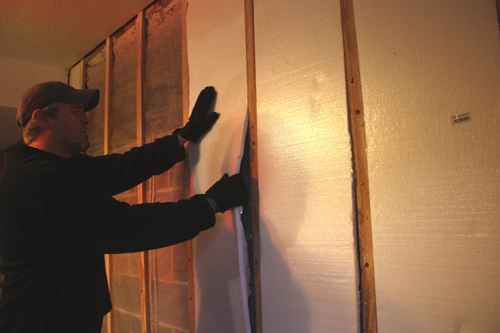
The stone veneer I planned to install requires a 7/16″ or greater OSB or plywood substrate, so that’s what I installed.
As a belt-and-suspenders approach I applied construction adhesive to the furring strips, centered the OSB panels on the strips, then fastened them with nails while the glue set. I also screwed the panels into the house framing along the edges, and even countersunk concrete screws through the OSB and insulation into the block wall. Once the wall was rebuilt, it was time to install the stone veneer. But that’s another story, which you’ll soon see from Extreme How-To.
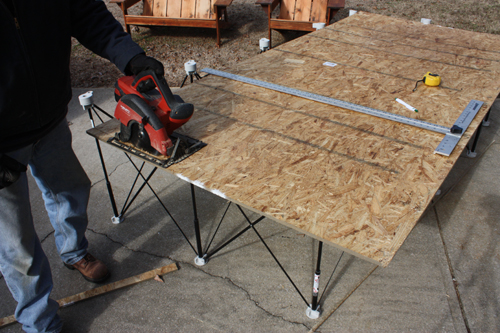
By the way, on this project I used a slick new portable work table from Centipede Tools, which expands to support 4×8 sheet materials and then when you’re finished it collapses in seconds to fit into a canvas tote bag. Check it out at centipedetool.com.
