

![shutterstock_sink12809794[1]](http://blog.extremehowto.com/wp-content/uploads/2014/09/shutterstock_sink128097941-209x300.jpg)
(Guest post courtesy Spartan Plumbing)
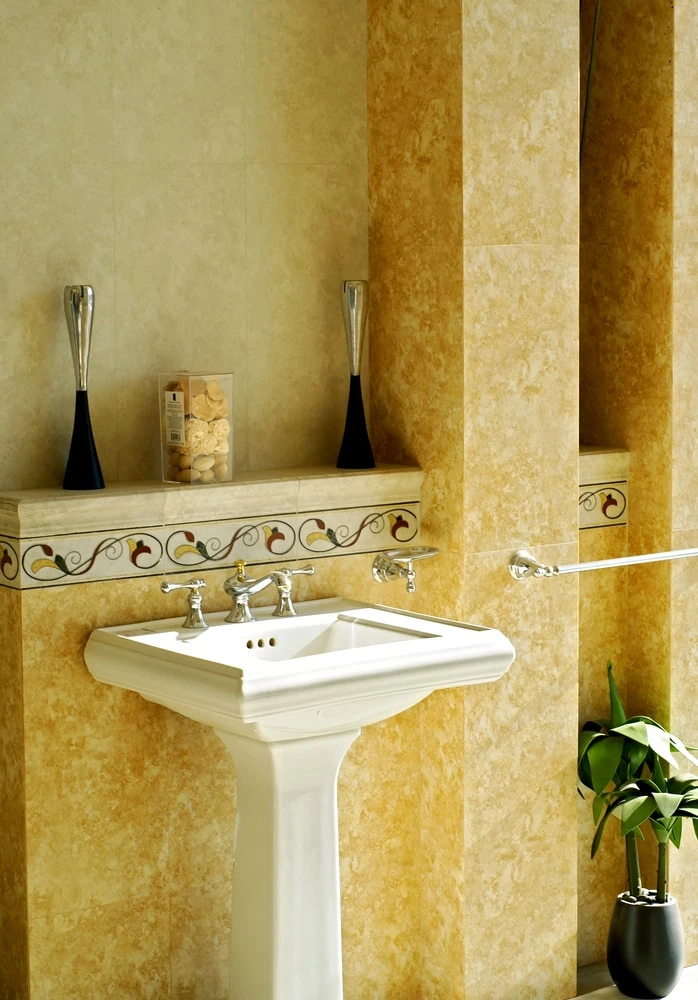
At the turn of the century, pedestal sinks were quite common. However, as the years passed, more and more people wanted counter space and extra storage. Stately pedestal sinks have largely been replaced by vanities. In fact, up until a few years ago, it was difficult or impossible to find a pedestal sink unless you were willing to dig through a scrap yard or buy one for an exorbitant price from a high-end retailer. These days, that vintage look is coming back into vogue. You can find a great selection of pedestal sinks at nearly any home improvement center.
Why Choose a Pedestal Sink?
Pedestal sinks come with several advantages. Not only do they have an elegant look, but their slim profiles save space and help make bathrooms look larger. In the dampness of a bathroom, wood vanities take a lot of damage quickly, often requiring regular refinishing. Since pedestal sinks are made from metal, porcelain or ceramic, you’ll never need to refinish them. In addition, cleanup is a breeze — simply wipe your sink down with a non-abrasive cleaner to make it look as good as new.
Step One: Tear out Existing Sink and Vanity
When you’re ready to install your new pedestal sink, shut off the water supply to your existing vanity using either the valves underneath the sink or the main valve that feeds your bathroom. Use a crescent wrench to disconnect the supply lines to the sink, and a pipe wrench or channel lock pliers to take apart the drain.
Since many vanity tops are sealed to the wall, use a utility knife to cut through any caulking. Check for screws that hold the counter to the vanity, and screws that hold the vanity to the wall. After removing fasteners, you’re free to remove the vanity completely.
Step Two: Move the Plumbing
The trick to making a pedestal sink look seamless is to conceal the plumbing as well as you can. This means that the hot and cold outlets should be behind the basin, while the drain needs to be behind the pedestal. If you’re lucky, your plumbing is already exactly where it needs to be. Replace the supply line valves and then install the sink.
If you’re not so lucky, you’ll need to move the plumbing. Use a reciprocating saw to cut through wallboard so that you have an opening large enough to work in, then extend the plumbing as necessary to hide it behind the new sink. Once you’re finished with the plumbing, re-install a new piece of wallboard. It’s also a wise idea to do any painting at this point so that you don’t have to worry about painting around the sink later on.
Step Three: Install Pedestal and Sink
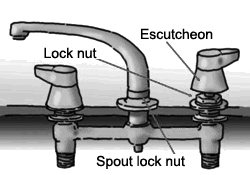
Just before you put the sink and pedestal in place, install the new faucet and drain assembly. Once that is finished, install the pedestal. Center it on the drain pipe, and make sure it isn’t leaning to one side or the other. You may need to use plastic shims under the base if it wobbles or doesn’t sit level. Use screws, lag screws or other hardware (according to manufacturer instructions) to fasten the pedestal to the floor.
Next, set the sink basin on the pedestal. If the pedestal is properly leveled, the basin should sit squarely on the pedestal. If the sink isn’t perfectly aligned, you can use rubber bumpers to level it, or re-level the pedestal itself. Mark the sink placement on the wall, and use the mounting hardware provided by the manufacturer — usually lag screws, mounting brackets or molly bolts — to affix the sink to the wall.
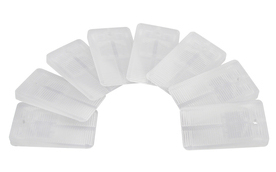
Use hard nylon shims to level pedestal base.
Step Four: Make Plumbing Hookups
Install the supply lines first, using a wrench to tighten the fittings and Teflon tape to seal the threads. Once that’s done, assemble the P-trap. If you’re using a plastic drain kit, tighten all fittings by hand first to avoid cross threading or deforming the pipe. Then use channel lock pliers to give the fittings one last partial turn to make sure they’re snug.
Now check for leaks — run the water for a few minutes and watch the new supply lines and the drain for moisture. Make sure to check again once you’ve shut the water off. Open and close the drain to make sure the drain is working. Once you’re satisfied that nothing is leaking, you can pick up your tools and enjoy your new sink!
Potential Problems Along the Way
Pedestal sink installation is usually hassle-free, but there are a couple of problems you could run into. Galvanized steel plumbing is what trips up most do-it-yourselfers. Rather than struggling with steel piping, simply use a transition coupling with rubber gaskets to join old steel plumbing to new piping of your choice. It’s best when you can use the transition coupling in your basement or someplace that can be easily accessed later in case you need to fix a leak or you want to get rid of the steel plumbing.
The sink basin will also need to be firmly fastened to a support — not just the wallboard. When you have the wall open to move the plumbing, make a note the location of the studs. If necessary, you can install a horizontal support between studs before closing up the wall again. Use a piece of 2×8 lumber between studs to give yourself a wide area for anchoring the sink.
Leaks in the new plumbing are sometimes a problem too. More often than not, leaks along the supply lines or in the drain assembly are caused by over-tightened fittings. When you crank threaded fittings down too hard, they will split. In addition, too much pressure applied by pliers or a pipe wrench can deform piping. If either of these two things is causing a leak, you’ll need to replace the split fittings or bent piping.
It’ll take a bit of work to install your new sink, but the results are worth it. Your bathroom will feel larger, cleaner and more stylish. Vanities and counters just can’t match the timeless elegance of a pedestal sink.
Author Bio: Patricia Bonacorda is the President of Spartan Plumbing a plumbing and HVAC company that has assisted residential homes since opening 1964. Spartan Plumbing is a licensed, bonded and insured business that has provided professional plumbing, heating and air conditioning services throughout the DC Region.
